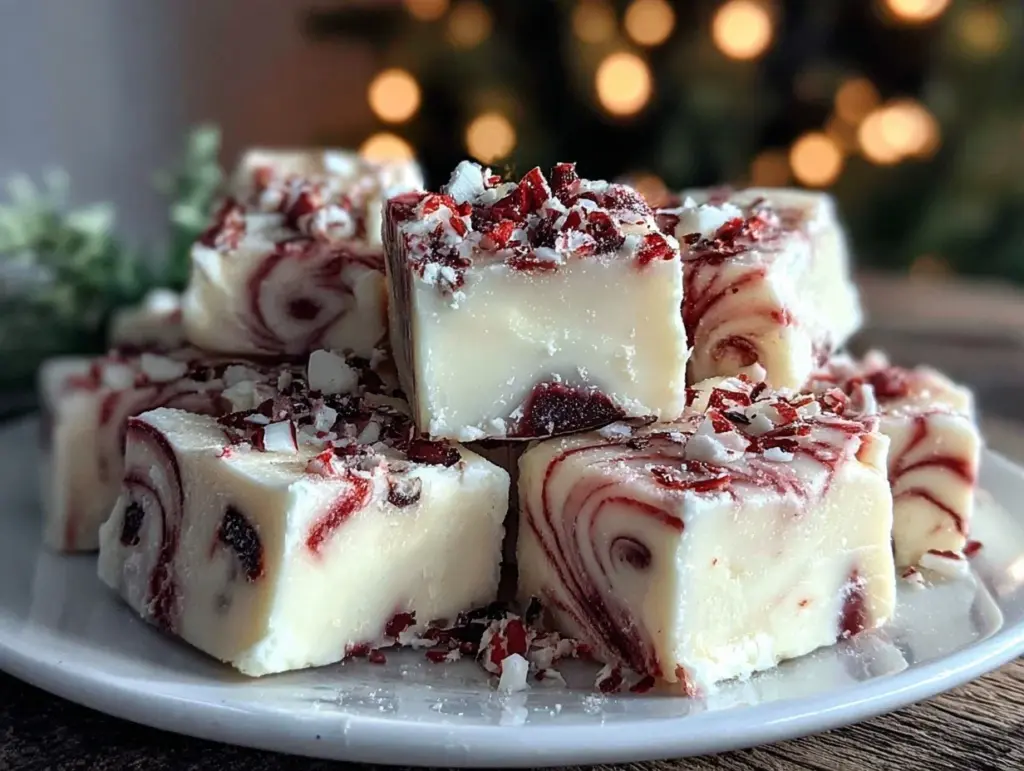
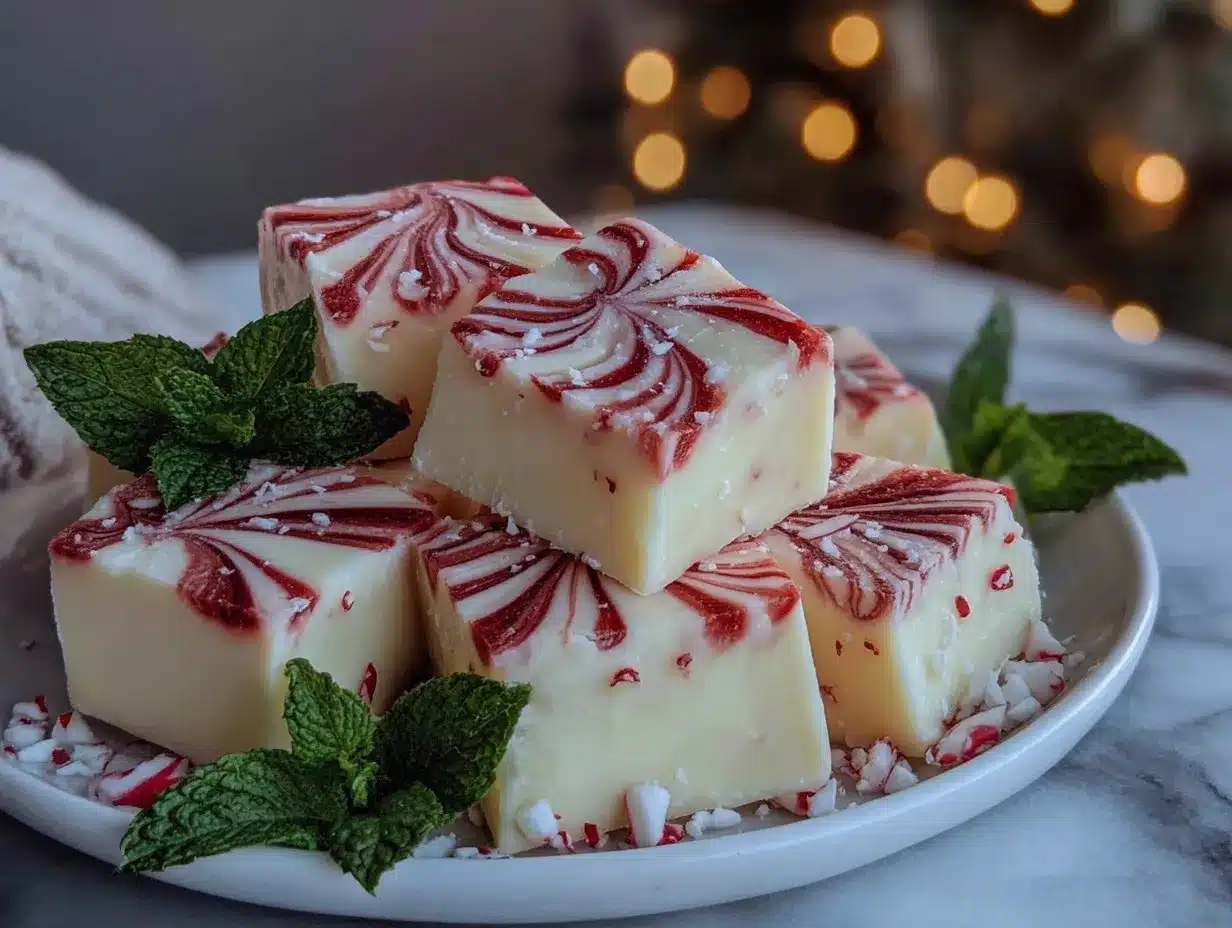
Every December, my kitchen turns into a peppermint wonderland. There’s something so nostalgic about the smell of peppermint candy wafting through the air—it feels like Christmas itself has snuck in and made itself at home. These festive Christmas peppermints are my go-to homemade candy recipe, and trust me, they’re so simple you’ll wonder why you didn’t start making them years ago.
I first made these for a holiday party years ago, and they were gone before I could even put them on the table. Now, they’re a staple in my holiday baking lineup. Whether you’re gifting them, serving them at a party, or just sneaking them straight from the jar, these little candies are pure holiday magic.
Let’s make your kitchen smell like Christmas and whip up the easiest homemade candy ever!
Why You’ll Love This Recipe
Okay, let’s talk about why these festive Christmas peppermints need to be on your holiday to-do list:
- Super simple ingredients: You probably already have most of these in your pantry. No fancy or hard-to-find items required.
- No special equipment: You don’t need a candy thermometer or any complicated tools. Just a bowl, a spoon, and some good old-fashioned elbow grease.
- Customizable: You can make them any color you want and add fun sprinkles or crushed candy canes for a unique twist.
- Perfect for gifting: Wrap these up in a cute tin or jar, and you’ve got a thoughtful homemade gift that everyone loves.
And the best part? Making these peppermints feels like a holiday tradition that you’ll want to pass down. Grab your kids, your partner, or even your best friend, and turn it into a fun bonding activity. I promise, it’s worth it!
What Ingredients You’ll Need
Here’s the short and sweet ingredient list for these festive Christmas peppermints. Don’t let the simplicity fool you—each ingredient plays a big role in making these candies perfect.
- Powdered sugar (3 cups / 360g) — This is the base of the candy. Make sure it’s sifted for a smooth texture.
- Sweetened condensed milk (¼ cup / 60ml) — Adds creaminess and binds everything together.
- Peppermint extract (1 tsp / 5ml) — The star flavor. Use a good-quality extract for a pure, refreshing taste.
- Food coloring (optional) — Red and green are classic, but feel free to get creative with other festive colors.
- Granulated sugar (for rolling) — Helps with shaping the candies and adds a sparkle to the finished product.
Quick note: If you’re not a fan of peppermint, you can easily swap the extract for vanilla, almond, or even lemon. But honestly, peppermint screams holiday cheer, so I recommend sticking with it for the full Christmas vibes.
Equipment Needed
You don’t need much to make these peppermints, which is part of their charm. Here’s what I use:
- Mixing bowl: A medium-sized bowl is all you need.
- Wooden spoon or spatula: For mixing the dough. I prefer a sturdy wooden spoon for this.
- Measuring cups and spoons: Precision matters when it comes to candy, so don’t eyeball this.
- Wax paper or parchment paper: For rolling and shaping the candies.
- Knife or kitchen scissors: To cut the candies into bite-sized pieces.
If you’re feeling fancy, you can use a candy mold for uniform shapes, but honestly, the rustic look is so charming that I usually skip it.
How to Make It: Step-by-Step
Let’s get to the fun part—making these festive Christmas peppermints! Follow these steps, and you’ll have a batch ready in no time.
- Prepare your workspace: Lay out a sheet of wax or parchment paper on the counter. Sift your powdered sugar into a large mixing bowl to avoid lumps.
- Mix the dough: Add the sweetened condensed milk and peppermint extract to the powdered sugar. Stir with a wooden spoon until a thick, dough-like consistency forms. It should feel smooth, not sticky.
- Add color: Divide the dough into 2-3 portions if you want to use different colors. Add a few drops of food coloring to each portion and knead until the color is evenly distributed. (Fair warning: your hands might get a little messy, but that’s part of the fun!)
- Shape the candies: Roll small portions of the dough into thin ropes on a sheet of wax paper, then cut them into bite-sized pieces with a knife or kitchen scissors. You can also roll them into small balls for a more traditional look.
- Coat with sugar: Toss the candies in granulated sugar to give them a sparkly finish and prevent sticking.
- Let them set: Leave the candies out on the wax paper for 1-2 hours to firm up. Once they’re dry, they’re ready to enjoy or package for gifting!
Pro tip: If your dough is too sticky to roll, add a little more powdered sugar, a tablespoon at a time, until the texture feels right.
My Best Tips & Techniques
Here are the tricks I’ve learned after making these peppermints year after year:
- Don’t rush the setting time: If you package them too soon, they’ll stick together. Be patient and let them dry completely.
- Use gel food coloring: It gives brighter, more vibrant colors without watering down the dough.
- Make them ahead: These candies stay fresh for up to two weeks, so they’re perfect for prepping early in the holiday season.
- Add a twist: For an extra-special batch, roll the dough ropes in crushed candy canes before cutting them. The crunch adds amazing texture!
One more tip: If you’re gifting these, package them in clear cellophane bags tied with festive ribbon. They look adorable and make the perfect stocking stuffer!
Ways to Mix It Up
Once you’ve mastered the basic recipe, you can get creative with these fun variations:
- Chocolate-Dipped Peppermints: Dip the finished candies halfway into melted dark or white chocolate and let them set. A fancy touch that tastes amazing.
- Holiday Sprinkles: Roll the candies in festive sprinkles instead of granulated sugar for a colorful twist.
- Flavor Swaps: Replace peppermint extract with vanilla, almond, or orange for a completely different vibe.
- Marbled Look: Knead two colors of dough together lightly for a swirled effect.
Honestly, the possibilities are endless. Experiment and find what makes your holiday table extra special!
Serving Ideas & Storage
These festive Christmas peppermints are as versatile as they come. Here’s how I like to enjoy them:
Serving Suggestions
- Arrange them on a holiday dessert platter alongside cookies and fudge.
- Use them as edible decorations for cakes and cupcakes.
- Add them to hot cocoa for a pepperminty twist.
They’re also perfect for holiday gift bags, stocking stuffers, or party favors.
Storage Instructions
- Room Temperature: Store in an airtight container for up to 2 weeks. Keep them away from heat and humidity.
- Refrigerator: If your kitchen is warm, refrigerate them. Just let them come to room temperature before serving.
Pro tip: Layer the candies with wax paper in storage containers to prevent sticking.
Nutritional Info & Health Benefits
Let’s be real—these are candy, not a health food. But here’s the nutritional breakdown per piece (approx.):
| Nutrient | Amount |
|---|---|
| Calories | 25 |
| Sugar | 5g |
| Fat | 1g |
While they’re a sweet treat, these homemade peppermints have fewer preservatives and additives than store-bought candy, which is always a win in my book.
Final Thoughts
These festive Christmas peppermints are the kind of recipe that feels like a little holiday miracle. They’re easy to make, endlessly customizable, and absolutely delicious. Whether you’re keeping them for yourself or sharing them with loved ones, they bring a little bit of joy to everyone who tastes them.
So grab your powdered sugar, roll up your sleeves, and let the holiday magic begin. I promise, these will become a tradition you look forward to every December.
If you make them, let me know how they turn out! Drop a comment below or tag me on Instagram @[your handle]—I love seeing your creations. Happy holidays and happy candy-making!
FAQs
Q: Can I make these without sweetened condensed milk?
A: You can try using heavy cream as a substitute, but the texture will be softer. Sweetened condensed milk works best to hold the candies together.
Q: Can I freeze these peppermints?
A: Yes! Freeze them in an airtight container for up to 3 months. Let them thaw at room temperature before serving.
Q: How do I keep them from sticking together?
A: Toss them in granulated sugar or layer them with wax paper in storage containers. This helps keep them dry and separate.
Q: Can I use natural food coloring?
A: Absolutely! Natural food coloring works, though the colors might not be as vibrant.
Q: How long do these candies last?
A: Stored properly, they’ll stay fresh for up to 2 weeks at room temperature or 3 months in the freezer.
Pin This Recipe!

Festive Christmas Peppermints Recipe – Easy Homemade Candy
- Total Time: 1 hour 15 minutes
- Yield: Approximately 50 pieces 1x
Description
These festive Christmas peppermints are a simple and customizable homemade candy recipe that brings holiday cheer to your kitchen.
Ingredients
- 3 cups (360g) powdered sugar, sifted
- 1/4 cup (60ml) sweetened condensed milk
- 1 tsp (5ml) peppermint extract
- Food coloring (optional)
- Granulated sugar (for rolling)
Instructions
- Prepare your workspace: Lay out a sheet of wax or parchment paper on the counter. Sift your powdered sugar into a large mixing bowl to avoid lumps.
- Mix the dough: Add the sweetened condensed milk and peppermint extract to the powdered sugar. Stir with a wooden spoon until a thick, dough-like consistency forms. It should feel smooth, not sticky.
- Add color: Divide the dough into 2-3 portions if you want to use different colors. Add a few drops of food coloring to each portion and knead until the color is evenly distributed.
- Shape the candies: Roll small portions of the dough into thin ropes on a sheet of wax paper, then cut them into bite-sized pieces with a knife or kitchen scissors. You can also roll them into small balls for a more traditional look.
- Coat with sugar: Toss the candies in granulated sugar to give them a sparkly finish and prevent sticking.
- Let them set: Leave the candies out on the wax paper for 1-2 hours to firm up. Once they’re dry, they’re ready to enjoy or package for gifting!
Notes
[‘If your dough is too sticky to roll, add a little more powdered sugar, a tablespoon at a time, until the texture feels right.’, ‘Use gel food coloring for brighter, more vibrant colors.’, ‘These candies stay fresh for up to two weeks, making them perfect for prepping early in the holiday season.’, ‘For an extra-special batch, roll the dough ropes in crushed candy canes before cutting them.’]
- Prep Time: 15 minutes
- Cook Time: 0 minutes
- Category: Dessert
- Cuisine: American
Nutrition
- Serving Size: 1 piece
- Calories: 25
- Sugar: 5
- Fat: 1
Keywords: Christmas candy, peppermint candy, homemade candy, holiday treats, festive desserts


