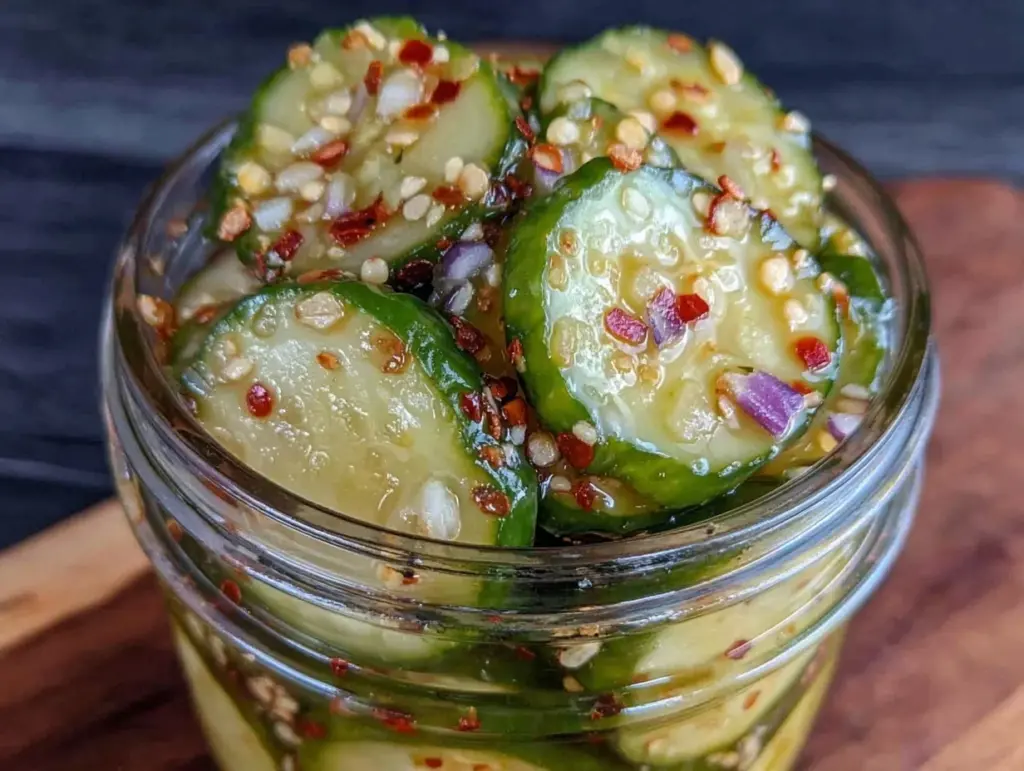
One rainy Saturday afternoon last summer, I found myself staring at a pile of cucumbers that had gone way past their prime on the counter. I’d planned to make my usual cucumber salad, but honestly, the cucumbers looked a little sad. Instead of tossing them, I decided to experiment with a quick pickle recipe I’d heard about from my grandma. The catch? It promised tangy, crisp refrigerator dill pickles in just 30 minutes. I was skeptical—pickles usually take days, right? But after a few tweaks and a couple of test jars, I nailed a recipe that’s now my go-to when I want fresh, crunchy pickles without the wait.
This refrigerator dill pickles recipe is my answer to those times when you crave that bright, vinegary crunch but don’t have days to wait. Plus, it’s ridiculously easy—no canning, no special equipment, just fresh cucumbers, dill, and a few pantry staples. I’ve made these pickles more times than I can count, tweaking the garlic here and the vinegar there, and I’m excited to share exactly how to get crisp, tangy pickles in half an hour flat.
Here’s the thing: once you try homemade refrigerator dill pickles, store-bought just won’t cut it anymore. And if you love simple, fresh flavors (like my dense bean salad with feta), you’re going to adore this quick pickle hack.
Why You’ll Love This Refrigerator Dill Pickles Recipe
I’ve made this simple recipe for everyone from pickle aficionados to pickle skeptics—and it always wins over skeptics. Here’s why it’s become a staple in my kitchen:
- Ridiculously Fast: You get crisp, tangy pickles in just 30 minutes. Seriously, I made a batch during a lunch break once.
- No Special Gear Needed: No pressure canner, no jars, just basic containers or mason jars you already have.
- Customizable Flavors: Love garlic? Add more cloves. Prefer spicy? Toss in some red pepper flakes. I’ve played with this recipe enough to know it’s flexible and forgiving.
- Crunchy Every Time: The secret is in the salt soak and ice water bath—trust me, I’ve burned this step twice before perfecting it.
- Perfect for Any Occasion: These pickles elevate sandwiches, salads, or even your favorite everything bagel chicken sheet pan dinner with their bright zing.
Honestly, once you have quick refrigerator dill pickles in your arsenal, you’ll find yourself craving them. They’re the perfect balance of tangy, salty, and fresh—plus, they feel fancy without the fuss.
Ingredients You’ll Need for Easy Refrigerator Dill Pickles
Before you start, here’s the best news: these ingredients are probably sitting in your kitchen right now. I’m picky about a few of them, and I’ll explain why as we go.
- Small to Medium Cucumbers (about 2 pounds / 900g) — I prefer Kirby cucumbers here because they stay crunchy. English cucumbers work too, but I slice off the seedy center for a firmer bite.
- Fresh Dill Sprigs (4-6 sprigs) — The star of the show. Dried dill just doesn’t have the same punch. If you have leftover dill from making creamy dill salmon pasta, use it here!
- Garlic Cloves (4 large, smashed) — Don’t skip the garlic. Fresh is a must for that punchy flavor.
- White Vinegar (1 cup / 240ml) — The acidity is key for tang and preserving crispness. You can swap with apple cider vinegar for a slightly sweeter note.
- Water (1 cup / 240ml) — Balances the vinegar so it’s not overpowering.
- Kosher Salt (2 tablespoons) — Use kosher salt, not table salt. It dissolves cleanly and seasons perfectly.
- Sugar (1 tablespoon) — Just a touch to balance the tartness.
- Black Peppercorns (1 teaspoon) — Adds subtle spice.
- Optional Red Pepper Flakes (½ teaspoon) — For a little heat, if you dare.
Quick tip: I always soak the cucumbers in ice water for 30 minutes before starting. It keeps them crisp even after pickling. If you’re short on time, a quick 15-minute soak still helps.
Equipment Needed
You don’t need fancy tools for this. Here’s what I use:
- Large Mixing Bowl — For soaking cucumbers in ice water. Any bowl that fits your cucumbers will do.
- Measuring Cups and Spoons — Accurate salt and vinegar amounts are important here.
- Mason Jars or Airtight Containers — I use quart-sized jars, but any sealable container works. Wide-mouth jars make packing cucumbers easier.
- Sharp Knife — For slicing the cucumbers. A serrated knife works well if your cucumbers are slippery.
- Cutting Board — Plastic or wood, whichever you prefer.
Honestly, I’ve made these pickles in everything from vintage Tupperware to fancy glass jars. No judgment.
How to Make Refrigerator Dill Pickles: Step-by-Step
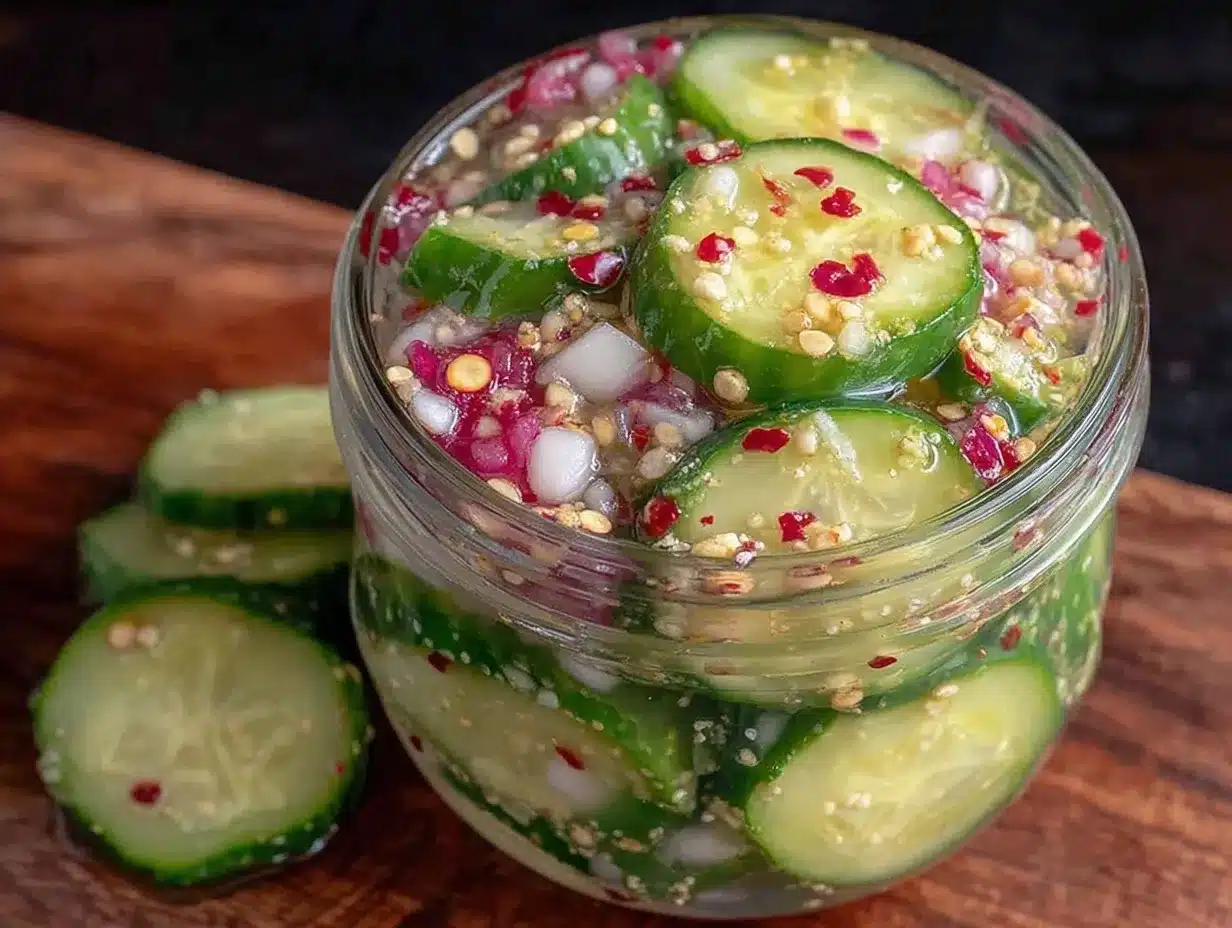
Alright, let’s get those cucumbers ready! I’m breaking it down exactly how I do it, complete with the little tricks that make these pickles crisp and flavorful.
Step 1: Soak the Cucumbers (30 minutes)
Start by slicing your cucumbers into spears or rounds—whatever shape you like best. I usually go for spears because they’re perfect for snacking. Toss them into a large bowl filled with ice water and soak for at least 30 minutes. This step is a game-changer for crisp pickles. If you’re in a hurry, 15 minutes is better than nothing.
Step 2: Make the Brine
While your cucumbers soak, combine the white vinegar, water, kosher salt, and sugar in a small saucepan. Heat gently, just enough to dissolve the salt and sugar—no need to boil. Let it cool to room temperature while you prep the jars.
Step 3: Pack the Jars
Place the dill sprigs, smashed garlic cloves, black peppercorns, and red pepper flakes (if using) into the bottom of your jars. Drain the cucumbers from the ice water and pack them snugly into the jars on top of the aromatics.
Step 4: Pour in the Brine
Fill each jar with the cooled brine until the cucumbers are fully submerged. Seal the jars tightly and give them a gentle shake to distribute the spices.
Step 5: Refrigerate and Wait
Place the jars in the fridge. Here’s the magic: these pickles are ready to enjoy in just 30 minutes. The flavor deepens if you let them sit longer, but if you can’t wait, that first bite is worth it.
Step 6: Enjoy!
Grab a pickle spear as a snack, add them to sandwiches, or toss them into salads for crunch and tang. They’re also a killer addition to a charcuterie plate or alongside your favorite crispy air fryer blooming onion.
Expert Tips & Tricks for Perfect Refrigerator Dill Pickles
I’ve learned a ton after making these pickles over and over. Here’s what makes the difference:
- Ice Water Soak Is Non-Negotiable: Skipping this step means softer pickles. If you hate limp pickles, soak those cukes!
- Use Kosher Salt, Not Table Salt: Table salt can make your brine cloudy and overly salty because it’s denser. Kosher salt dissolves better and tastes cleaner.
- Don’t Boil the Vinegar: Just warm it enough to dissolve the salt and sugar. Boiling can dull the fresh flavors.
- Smashed Garlic vs. Minced: I prefer smashed cloves for a mellow garlic flavor that infuses slowly without overpowering.
- Pack Tightly: The less air in the jar, the better the pickling. It helps the cucumbers soak up all that garlicky dill goodness.
- Wait If You Can: Though these pickles are ready in 30 minutes, they taste even better after a few hours or overnight.
Common mistake: If your pickles turn out too salty, rinse them briefly under cold water before serving. It’s saved me more than once!
Variations & Substitutions to Try
Once you’ve nailed the basic refrigerator dill pickles, it’s fun to switch things up. Here are a few versions I’ve tested:
- Spicy Pickles: Add 1 sliced jalapeño or increase red pepper flakes to 1 teaspoon for a fiery kick.
- Sweet & Spicy: Add 2 tablespoons of honey or maple syrup instead of sugar. It balances heat and tang beautifully.
- Garlic Lover’s: Double the garlic cloves for a punchier pickle. My garlic-loving husband swears by this.
- Curried Pickles: Toss in 1 teaspoon mustard seeds and 1 teaspoon curry powder for an Indian-inspired twist.
- Low-Sodium: Use 1 tablespoon kosher salt and 1 tablespoon soy sauce in the brine for flavor without as much salt.
Want to keep it fresh and light? These pickles complement a healthy lunch like the dense bean salad with feta beautifully.
Serving & Storage Tips for Refrigerator Dill Pickles
Serving: These pickles shine as a snack straight from the jar, but they’re also amazing chopped and tossed into potato salad or served alongside grilled meats. I often put out a little pickle platter with sliced cheddar and crackers for easy entertaining.
Storage: Keep your pickles refrigerated in tightly sealed jars or containers. They’re best eaten within 2 weeks for maximum crunch and flavor, but I’ve kept them for up to a month with no issues.
Reheating: Nope, pickles are best cold. If you want warm pickles (weird, but hey), try pan-frying quick pickles with some butter—works surprisingly well.
Nutrition Information
| Nutrient | Per Serving (1/6 of recipe) |
|---|---|
| Calories | 15 |
| Protein | 0.5g |
| Carbohydrates | 3g |
| Fiber | 1g |
| Sugar | 1g |
| Fat | 0g |
| Sodium | 400mg |
I’m not a nutritionist, but these pickles are low-calorie and fat-free, with a decent dose of sodium (thanks, brine!). They’re a guilt-free way to add crunch and flavor to meals. Just watch the salt if you’re on a low-sodium diet.
Final Thoughts on Making Refrigerator Dill Pickles
So that’s my quick, easy, and reliable refrigerator dill pickles recipe! I’ve probably rambled enough, but when you find a recipe this simple and satisfying, there’s a lot to say. It’s the perfect pick for busy days when you want something fresh, tangy, and crisp without fussing over canning or waiting for days.
These pickles have saved me from many snack emergencies and jazzed up everything from sandwiches to sheet pan dinners. Don’t be afraid to customize them—add more garlic, more spice, or even experiment with flavors. The best homemade pickles are the ones you make your own.
If you make this recipe, drop a comment and let me know how your pickles turned out! And if something doesn’t go as planned, I’m here to troubleshoot. Happy pickling—and may your kitchen smell as fresh and tangy as mine does right now.
Frequently Asked Questions About Refrigerator Dill Pickles
Q: Can I use regular cucumbers instead of Kirby cucumbers?
A: Absolutely. Kirby cucumbers are my go-to because they stay crisp, but regular slicing cucumbers or English cucumbers work fine. Just keep in mind that English cucumbers have more seeds and water, which can make pickles a bit softer. You can scoop out the seeds if you want firmer pickles.
Q: How long do refrigerator dill pickles last?
A: They’re best eaten within 2 weeks when they’re at peak crunch and flavor. After that, they might get softer but are usually still safe to eat for up to a month if kept refrigerated in a sealed container.
Q: Can I double this recipe?
A: Yes! Just double all ingredients and use larger jars or multiple containers. The process stays the same, and the pickles will be just as delicious.
Q: Why did my pickles turn out soggy?
A: The most common culprit is skipping the ice water soak or not using fresh cucumbers. Also, using table salt instead of kosher salt can affect texture. Make sure to soak your cucumbers in ice water for at least 15-30 minutes before pickling, and use kosher salt for the best results.
Q: Can I make these pickles without vinegar?
A: Vinegar is essential for the tang and preserving the pickles quickly. Without it, you’re not really pickling but fermenting, which takes longer and requires different methods. For quick refrigerator pickles, stick with vinegar.
Q: Can I add other spices or herbs?
A: Definitely! Mustard seeds, coriander seeds, peppercorns, or even fresh thyme or oregano can add new flavors. I love experimenting depending on what I have on hand.
Q: Will these pickles be as good as canned pickles?
A: They’re different but equally delicious. Refrigerator pickles are fresher, crisper, and tangier but don’t last as long as canned pickles. Plus, you skip all the canning fuss and get to eat them in just 30 minutes.
Pin This Recipe!
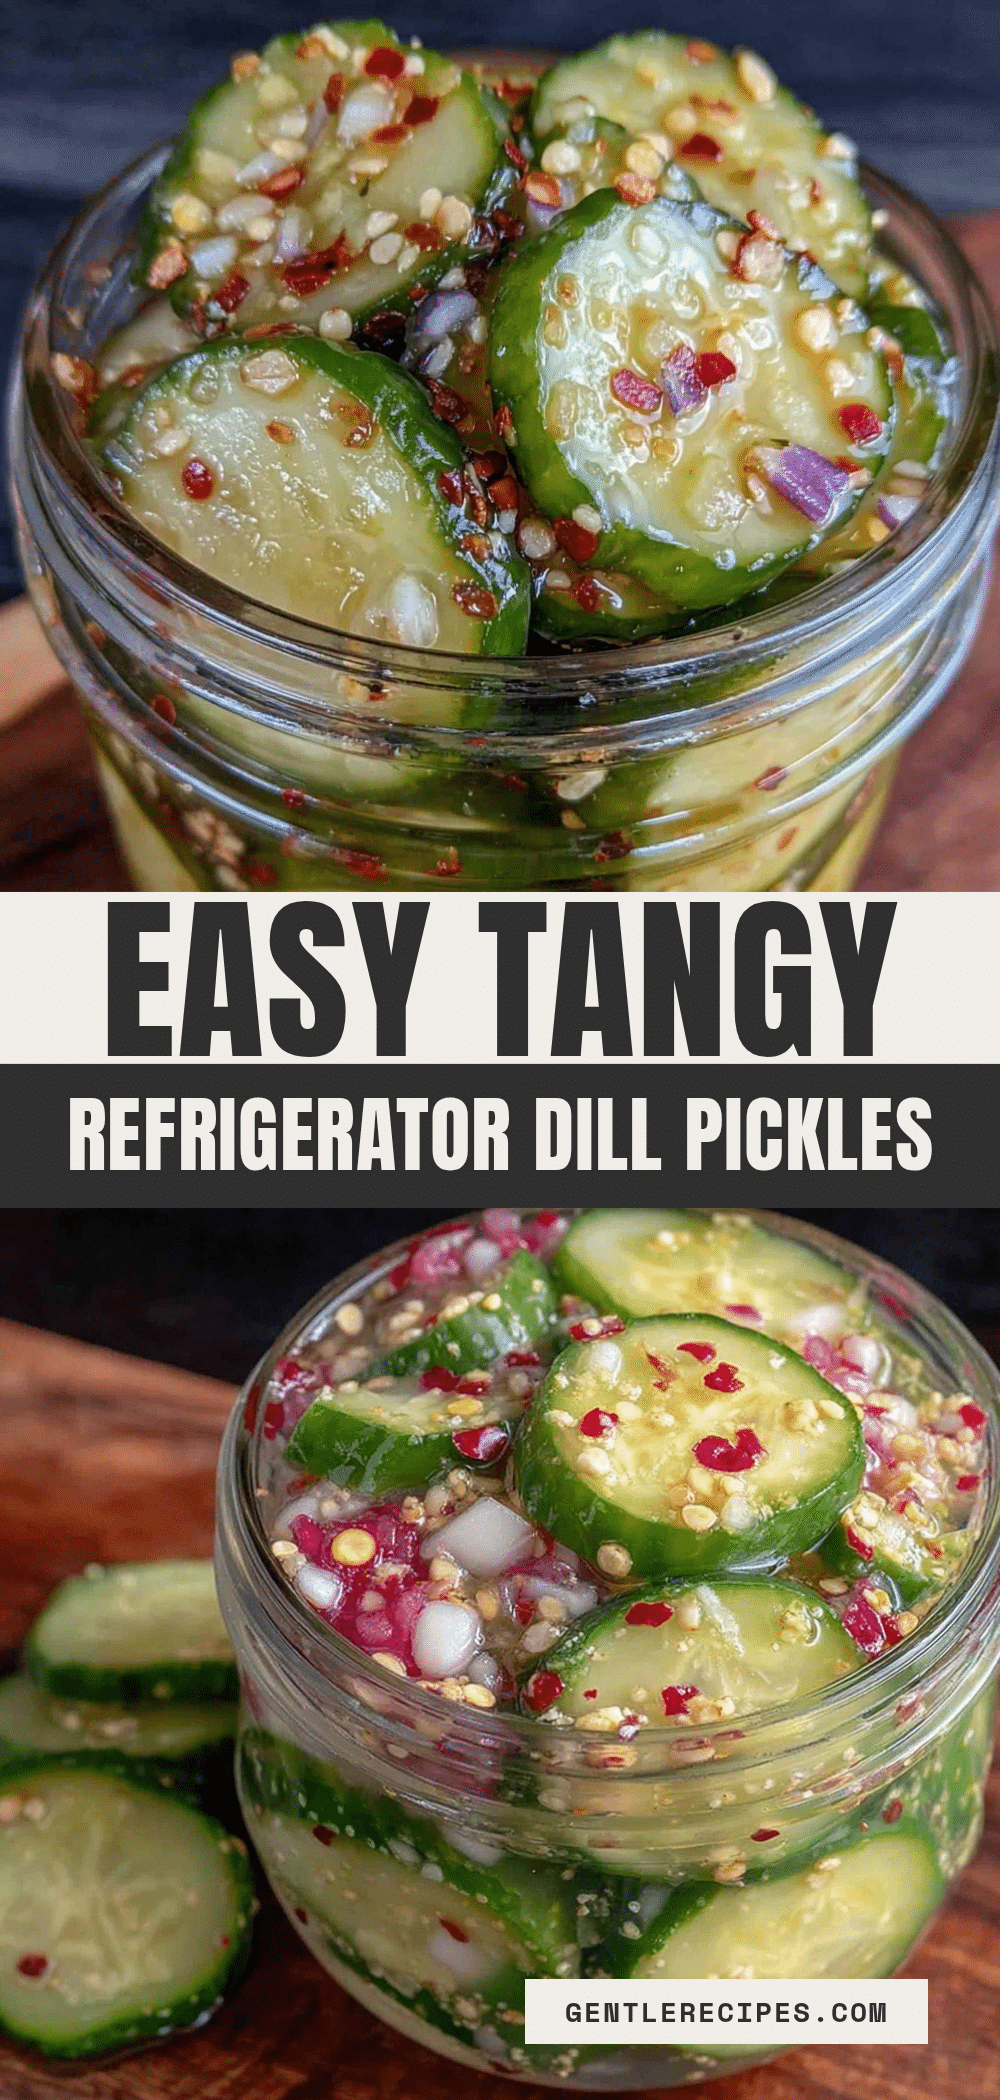
Refrigerator Dill Pickles Recipe Easy Tangy Crisp Pickles in 30 Minutes
- Total Time: 30 minutes
- Yield: 6 servings 1x
Description
A quick and easy refrigerator dill pickles recipe that delivers tangy, crisp pickles in just 30 minutes without canning or special equipment.
Ingredients
- 2 pounds (900g) small to medium cucumbers (Kirby preferred)
- 4–6 fresh dill sprigs
- 4 large garlic cloves, smashed
- 1 cup (240ml) white vinegar
- 1 cup (240ml) water
- 2 tablespoons kosher salt
- 1 tablespoon sugar
- 1 teaspoon black peppercorns
- ½ teaspoon red pepper flakes (optional)
Instructions
- Slice cucumbers into spears or rounds and soak in a large bowl of ice water for at least 30 minutes (15 minutes if short on time).
- Combine white vinegar, water, kosher salt, and sugar in a small saucepan and heat gently until salt and sugar dissolve. Let cool to room temperature.
- Place dill sprigs, smashed garlic cloves, black peppercorns, and red pepper flakes (if using) into the bottom of mason jars or airtight containers.
- Drain cucumbers from ice water and pack them snugly into the jars on top of the aromatics.
- Pour the cooled brine over the cucumbers until fully submerged. Seal jars tightly and gently shake to distribute spices.
- Refrigerate jars. Pickles are ready to eat in 30 minutes but flavor improves if left longer.
Notes
[‘Soaking cucumbers in ice water is essential for crispness.’, ‘Use kosher salt instead of table salt to avoid cloudiness and overly salty brine.’, ‘Do not boil the vinegar; just warm enough to dissolve salt and sugar.’, ‘Smashed garlic cloves provide a mellow garlic flavor without overpowering.’, ‘Pack cucumbers tightly to reduce air and improve flavor infusion.’, ‘If pickles are too salty, rinse briefly under cold water before serving.’, ‘Flavor improves if pickles sit longer than 30 minutes, ideally a few hours or overnight.’, ‘Store pickles refrigerated and consume within 2 weeks for best quality.’]
- Prep Time: 15 minutes
- Cook Time: 15 minutes
- Category: Condiment
- Cuisine: American
Nutrition
- Serving Size: 1/6 of recipe (about
- Calories: 15
- Sugar: 1
- Sodium: 400
- Carbohydrates: 3
- Fiber: 1
- Protein: 0.5
Keywords: refrigerator dill pickles, quick pickles, easy pickles, tangy pickles, crisp pickles, no canning pickles